How to modify spatial and temporal calibrations in SIS files
TL;DR
- For Spatial calibrations go to Data > Pixel Size
- For temporal calibrations use Data > Edit Structure
Introduction
Calibrations are vital to make sense of the results of image analysis. They translate the units of the images, like pixels, into real world units. Calibrations in image analysis come in two forms: Spatial and Temporal. Spatial calibrations allow us to measure distances, areas and volumes. Temporal calibration allow us to measure the rate of changes in an image in absolute times. This information is normally part of the metadata of the files that are imported and is normally carried over into the SIS file during the import process. However, this metadata may on occasions be missing, inaccessible to the importer, or incorrect. In any case, it is best to check that this information is correct after import and to correct it if necessary before doing anything else with the images. Changes to calibrations are retroactively applied to measured features, but doing this prior to the analysis could save some time in having to re-export the results.
Spatial Calibrations
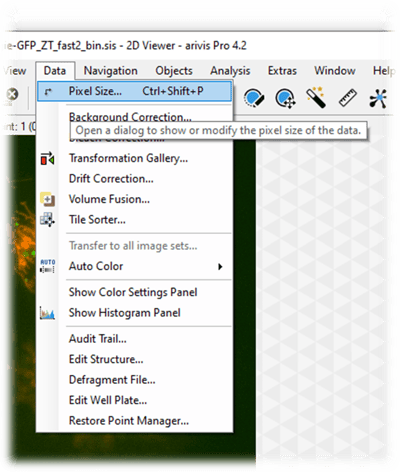
To set the spatial calibration we go to Data> Pixel Size.
Here the user can see the width of pixels in each of the X ,Y and Z dimensions independently and to change them we can just enter the new value in each field as needed.
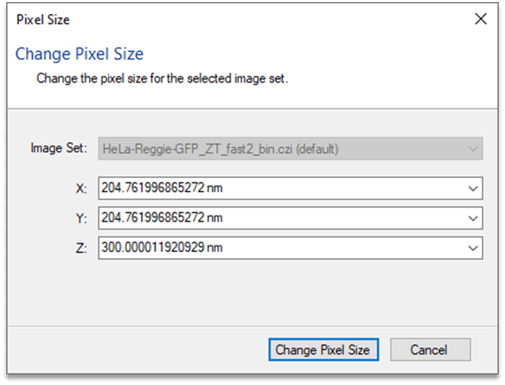
Note that it is necessary to have units. If no unit is selected the field will be highlighted red to indicate that the units are missing.
Note that, as of arivis Vision4D 3.3, it is possible to add calibrations to every set in a batch simultaneously by selecting the [all image sets] option from the Image Set drop-down list.
Temporal calibrations
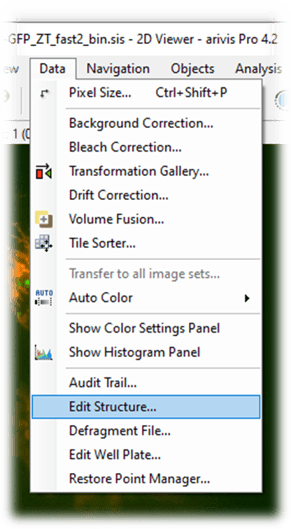
Setting the temporal calibration is done through Data> Edit Structure... :
This opens a new window where we can see the structure of the dataset, and we can also see the absolute time for each time point. To change the time intervals or absolute time we can simply right-click on any single time point and select the option as needed.

By using the option to Set Time Interval... we can set the interval for every time point in the series.

Note that the time interval is assumed to be the same for every time point. Also, if the specific time is important (e.g. FRAP experiments), it can be set for any of the time points by right-clicking on that time point and setting the date and time.