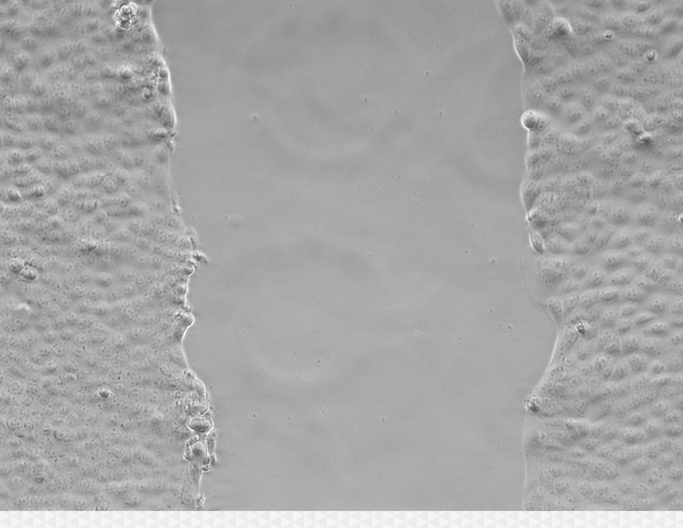
Wound healing assays, or scratch assays, are a common tool in cell migration studies. This article explains how to segment and measure wound areas in such studies.
Introduction
In Wound Healing Assays, the aim is to measure the rate at which an area recently cleared of cell tissue (typically by scratching a cell covered surface), takes to be repopulated by migrating cells.
The sample pipeline included at the bottom of this article is preconfigured to carry out the complete analysis, including segmenting the wound area using a machine learning trained segmenter. This article explains the steps in the pipeline and why they have been added, along with tips on creating or editing the machine learning training in case it does not work for your images.
Segmentation
The first step in evaluating such assays is to segment the wound area. This can be done in several ways but the easiest is probably to use a machine learning training. The machine learning trainer can be accessed from the Analysis Panel toolbar or from the Analysis menu.

In the trainer, it can be useful to use a wide brush size to reduce the effort required in marking out the wound and background areas. Holes due to particles in the wound area can be filled automatically by the segmenter. Small areas outside the wound area that are still included in the segmentation can be filtered out.

Once satisfied with the training, we can open it in a pipeline to segment the image.
In the pipeline, we can first set up the input ROI, either restricting the input to a few time point to test at first, or selecting the whole image set to run the analysis on the whole time series straight away.
Since apparent "holes" in the wound area are quite common due to stray cells or contamination particles, it's best to set the segmenter to not allow holes.

The training is stored as part of the pipeline but can also be
After the segmentation, it will most likely specifically identify the one object that is the wound area. This can be done using a feature filter by assuming that the wound will be the largest, but a more reliable identifier it to filter the objects that don't touch both sides of the image frame. In the sample pipeline we've done this by combining 3 separate operations.

First have 2 separate touching edge filters. The first identifies all objects that don't touch the top border, the second those that don't touch the bottom border. Note that the input for each operation is the segmenter, not just the last operation in the pipeline as is default.
Second, we have added a feature filter, which we've renamed "Wound Area", and configured it to tag only those objects that meet neither condition, i.e. only those that touch both sides.
Measuring healing
Measuring the healing rate can be done in a variety of ways. One way to do this is to measure the time it takes for half the wound to heal. This can be done by creating a track of the Wound objects and identifying the middle time point of the track.
We start by adding a tracking operation to the pipeline.

Since we only expect one object per time point we can set the Max. distance value to be the width of the image so as to guarantee always finding the next object in the track.
Once the tracking is complete the Object window will show the track and we can choose to display the First, Middle, and Last time points features.

Sample Pipeline - Wound Healing Tracking
Image courtesy: Paul Thomas, University of East Anglia, UK.

