The article guides the user through the basic steps in getting started in arivis VisionVR.
Introduction
Arivis VisionVR is a Windows-based image visualization and analysis solution designed for manual interaction in virtual reality with multidimensional volumetric image datasets. It offers tools for manual segmentation and tracking along with a collaborative toolset for the mutual exploration of images in VR.
Opening or Importing Images
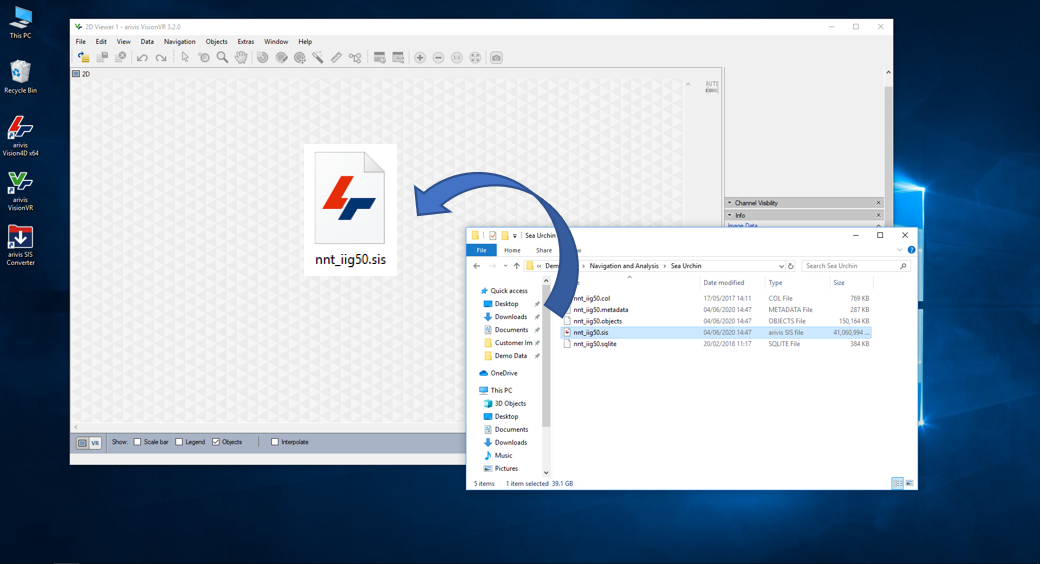
The simplest way to open images in arivis VisionVR is simply to drag and drop an image file into an open viewer. Files in the arivis SIS format will open immediately, supported files of any other format will trigger the import process which creates a SIS file.
Switching to VR
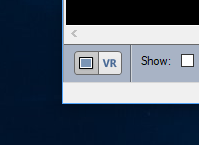
With an image open, a click on the VR icon in the viewer switch will load the image into the VR viewer.
Basic VR Controls
Once in VR, most functions are accessible directly through the VR controllers. These examples use the Oculus Touch controllers, but other supported controllers work the same way as long as they have the corresponding buttons.

The main buttons are:
- Trigger: Action button activated using the index finger. This is usually used to use the various VR tools (move clipping planes, sculpt or track objects), or to interact with menu items.
- Grab: Main navigation tool activated using the middle finger. Grab and hold to move a point in space at the tip of the controller. Grab and move with both hands to adjust the position of two points in the volume relative to each other. Moving these points apart will expand the volume, moving them together will shrink the volume. This can also be used to rotate the volume.
- Left-hand joystick: Tool selection. Clicking on the joystick with your thumb will open the Tools menu. Use your right hand and the trigger to select various tools and functions. Moving the joystick left or right will switch between various modes for the current tool (e.g. add/remove objects, type of clipping mode, etc)
- Right-hand joystick: Also sometimes used to switch between other aspects of the current tool (e.g. switch objects sculpting tool shape) and to progress forward or back through a time series
- A: Accept / confirm. Used to confirm the end of the current tool executions (e.g. finish the current track, object edit, line measurement).
- B: Help. Press once to show the help menu for the current tool. Press again to close it.
- X: Cancel / Delete. Used to cancel the current action without saving changes or to delete objects (e.g. point in a line)
- Y: Quick tool change
- Menu: Opens the main settings menu. In the main menu, users can select which channels to display, adjust opacity curves, and access many other settings of the software.
Panels

Situated to the right of the viewer, the panels give the user access to tools not necessarily directly related to the VR and other functions. Some panels open automatically (navigator, Opacity Settings...), others can be opened by right-clicking in the panels and selecting the tool needed.
This guide is only intended as a basic introduction. Additional guidance, including guides for specific controllers, is available in the Help menu of the desktop application.