The application note goal is to guide the scientists in the workflow for segmenting objects into smaller equal parts and create 3D bounding-box objects surrounding them. The application note includes the steps to import the data and object to be segmented.
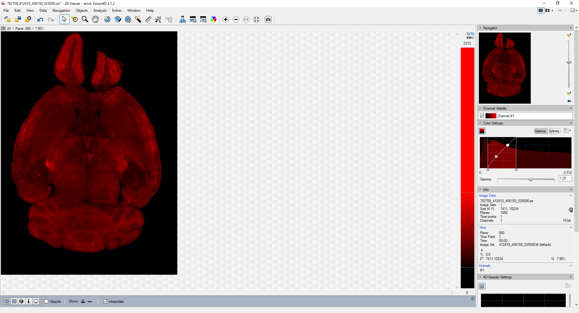
1. Import the image set(s) in arivis Pro
Step 1.1:
Import the experiment data into a single image set by simple drag-and-drop into arivis Pro window.
Note: The above example data was made available through the courtesy of -
Mehwish Anwer, PhD
Team of Professor Cheryl Wellington
University Of British Columbia
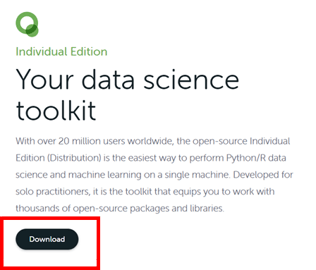
2. Download the Anaconda package
Step 2.1
Open the Anaconda web pages using the following link:
Step 2.2
Select the Download Anaconda item.

Step 2.3
Click on Download
The Individual Edition is Open source and freely distributable.
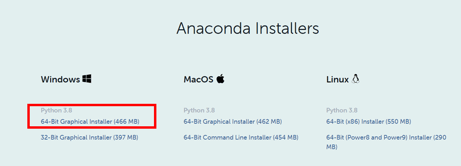
Click on 64-bit Graphical Installer
The download task starts.
3. Install the Anaconda package
Step 3.1
Open the Download folder and locate the Anaconda3 setup file.
![]()
Step 3.2
Run it and press the Next button on the setup dialog.
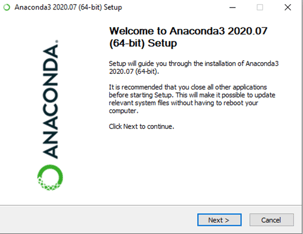
Note : The Python release must be at least 3.8.
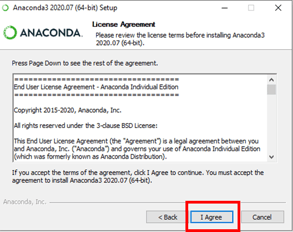
Step 3.3
Click on the “I Agree“ button to accept the License Agreement terms.
Step 3.4
Select the “Just Me“ option.
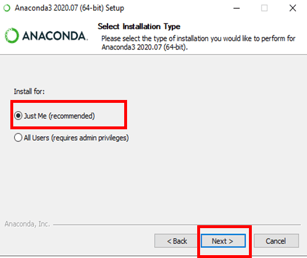
Step 3.5
Press the “Next” button to complete the installation.
4. Install the Anaconda environment
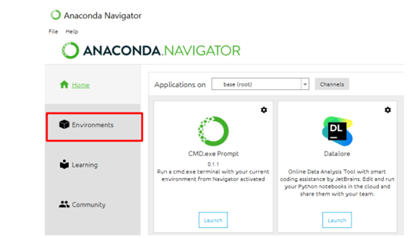
4.1 Select the Environments tab in Anaconda:
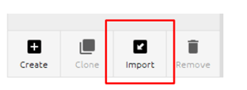
4.2 Select ‘Import’ the Environment on the bottom:
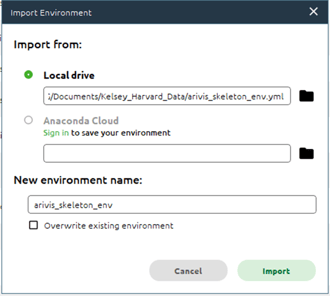
4.3 Import the skeleton environment from the .yml file on your computer, which can be downloaded from here:
5. Test python Registration environment in arivis Pro
In order to run the image registration script, the corresponding python environment should be already installed on the workstation using the Anaconda distribution. Detailed instructions on how to set up this environment are provided in https://kb.arivis.com/install-the-python-anaconda-package article.
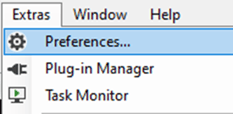
- Run arivis Pro (4.1.1 and next release) select the Preferences item from the Extras menu.
2. On the left panel, click on the “Scripting“ item.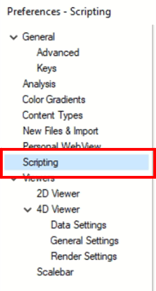
By default, the new environments are stored under the \envs folder located in the Anaconda3 installation folder e.g. C:\users\xxxxxx\Anaconda3\envs\arivis_skeleton_env
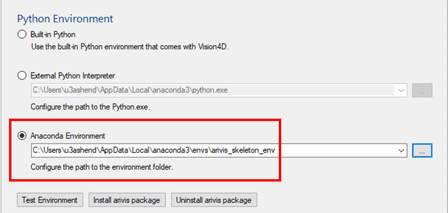 4. Install the arivis package.

5. Run the Compatibility test.
![]()
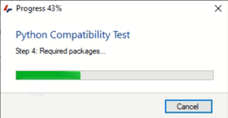
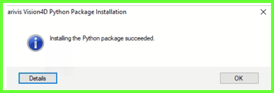
Test completed successfully:
Test failed:
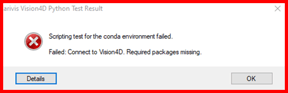
Tip: If the above error message is issued, try again to install the arivis python package.
6. Run the python script in arivis Pro
In order to run the script, the objects of interest should first be created and/or imported into the pipeline. We suggest first testing this operator on a small subset of the objects. Running it on the large dataset might take a few hours as well. The script can be downloaded here.
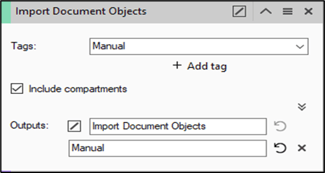
Create or Import the object of interest that is to be segmented.
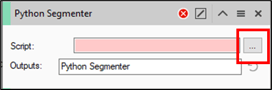
Select the Python Segment Modifier operator and use the ![]() button to upload the operator script.
button to upload the operator script.
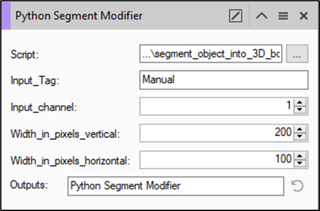
Input_Tag: object tag to use for segmentation.
Input_channel: channel to run the script on.
Width_in_pixels_vertical: Vertical width of the segments in pixels.
Width_in_pixels_horizontal: Horizontal width of the segments in pixels.
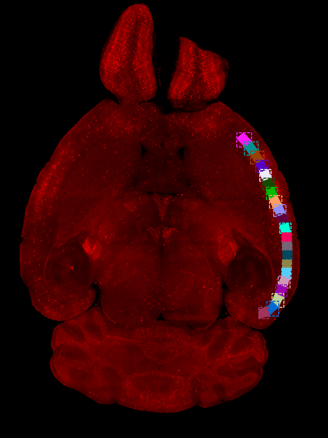
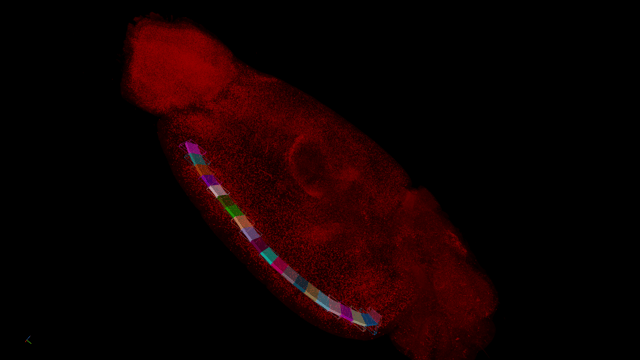
7. Visualization of the results
Once the script is executed, the segments with 3D bounding boxes will be displayed as objects. By default, they will be assigned random color to differentiate between the different objects.