This article guides users through the process of installing and configuring arivis Pro VR and the related components.
Introduction
arivis Pro VR / VisionVR, by itself, is very simple to install and configure, but the software relies on 3rd party VR hardware and software for support. The list of supported and recommended hardware can be found in our systems recommendation page, but essentially the most important part is to install the VR components and then ensuring that arivis has access to those.
Installing VR headsets
arivis requires that the rendering be done on a computer GPU and as such needs a direct connection to the headset. In most cases, this requires a physical cable, though some headsets also support streaming over WiFi. It also requires that users install the relevant software and runtime for their headsets.
VisionVR uses the OpenXR standard which is supported by the majority of headset manufacturers. For most headsets, support is configured automatically with the installation of the VR headset software. Most manufacturers will prompt the installation as soon as the headset is plugged into the system for the first time. There are 3 main runtime environments:
- Windows Mixed Reality (WMR)
- Oculus
- Steam VR
Additional headsets will be covered in the troubleshooting pages.
Windows Mixed Reality
WMR runtime is installed by default when a supported headset is plugged in (e.g. HP Reverb). users should follow the on-screen prompts and configure with default settings.
Meta/Oculus headsets
Meta (formerly Oculus), prompts the PC software installation for older headsets (Rift/Rift S), but newer stand-alone systems need the software to be downloaded and installed from the Meta website.
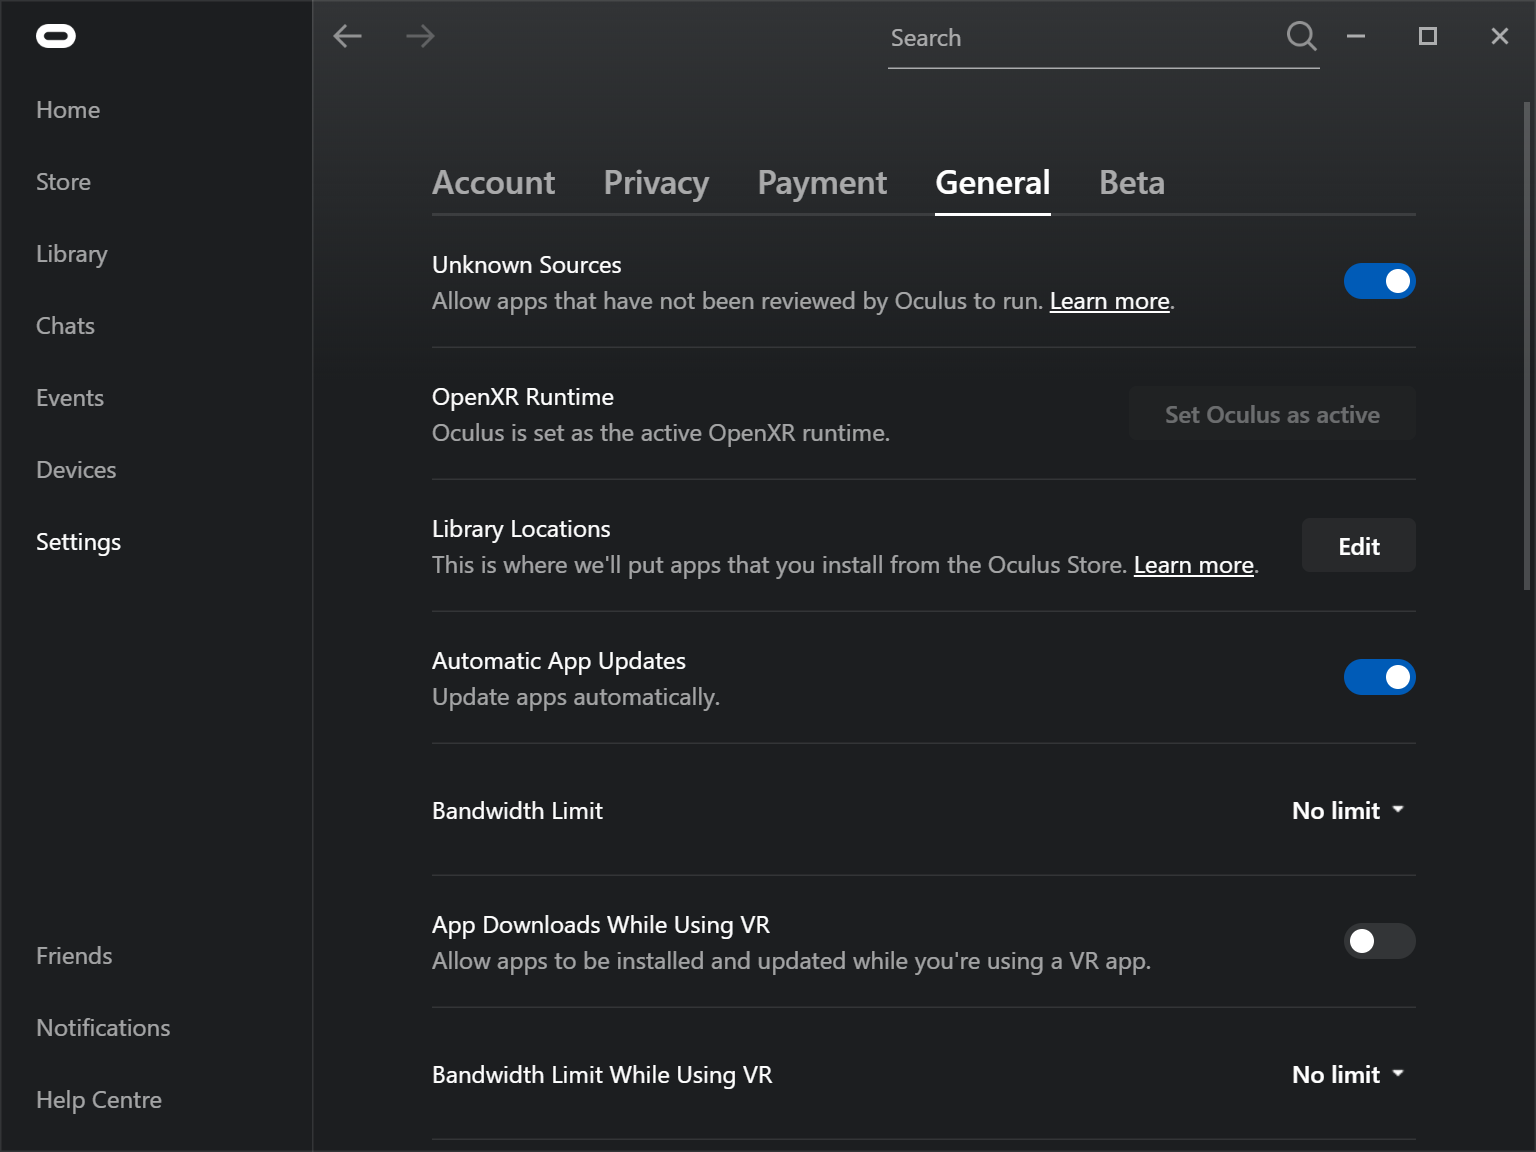
Once installed, the system needs to allow apps from unknown sources. If using a Quest headset, a link cable must be plugged in and Airlink needs to be enabled.
Steam VR
The Steam VR app can be installed directly from the Steam store. If the PC that will run arivis has no internet access, or restrictions that do not allow you to download and install the software directly, this link provides additional information.
Once the default runtime is configured, arivis will automatically identify this and run with your headset.
Installing arivis Pro VR / VisionVR
Links to download the installer will be sent to you together with your license activation key when you purchase the software or request a demo. Once downloaded, simply double-click on the installer and follow the on-screen prompts. The installer will install the full software package. There is no need to install additional features as all features are installed by defaults and access to these is only limited by your license.
Note that when installing arivis VisionVR on systems with arivis Vision4D/arivis Pro already installed, a prompt may appear concerning the installation of the Sentinel Runtime Drivers:

If this is the case, simply click OK and allow the installation to complete.
When the installation is complete you can start VisionVR using the shortcut icon on your desktop. The software will automatically look for any available licenses and prompt you to enter your activation key if none is found. If this installation is an update from a previous version your license should be automatically detected. If this is a new installation of arivis VisionVR a license activation will be required.
Using OpenXR
As of version 3.2 arivis VR can use OpenXR to communicate with any device that supports the standard. Most devices that support OpenXR will automatically set up a default OpenXR environment to allow software products to communicate with the Headset.
Meta headsets do not always use OpenXR by default, but since Meta is also supported outside of OpenXR the app can simply be configured to not use OpenXR. We can select the Meta Link runtime instead.

Please see this article for help in getting started with using VisionVR.